
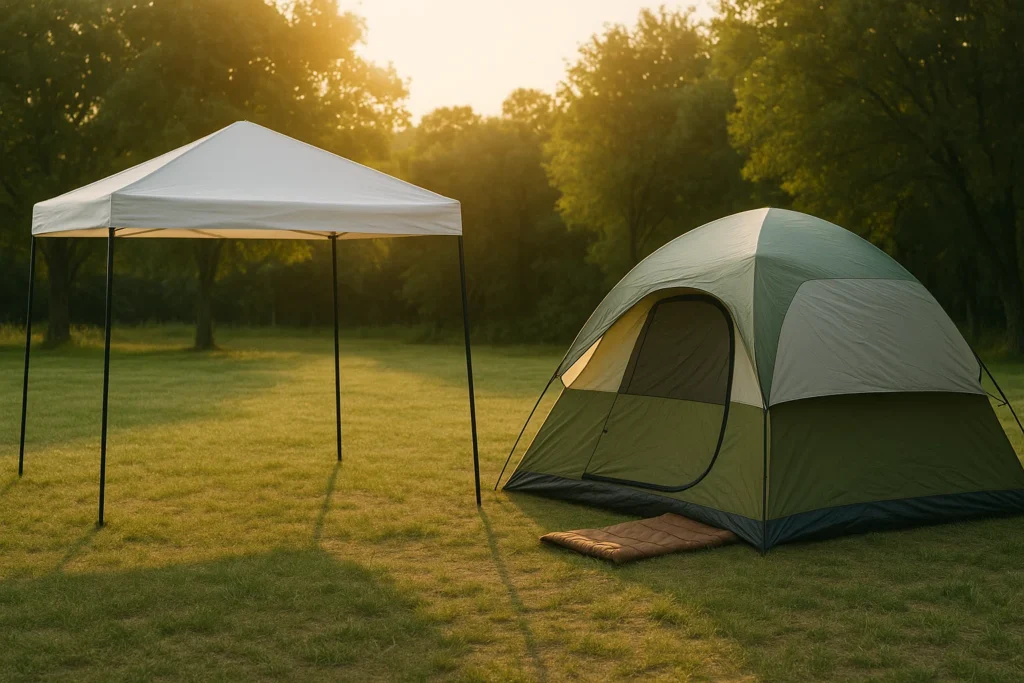
You’ve probably seen both at markets, weddings, and campgrounds: one is an open, roof-only shelter with walk-up access; the other is a private, weather-tight room outdoors. This guide goes past dictionary definitions to show how they behave in real wind, real rain, real crowds—and where each one shines. For fundamentals and models, start with a canopy tent overview, then use the decision framework below to match the shelter to your day.
Quick Snapshot: What Each One Actually Does (In Real Life)
• Open-sided shade (best for flow): A sun shade canopy gives you fast setup, walk-up access from all sides, huge visual presence for logos, and flexible add-on walls when wind or sideways rain shows up.
• Enclosed shelter (best for privacy & weather): A traditional tent provides walls, doors, and often a floor—quiet sleeping space, bug protection, better storm performance, and a place to stash gear securely.
Structure & Use-Cases: Why Design Dictates Behavior
Canopy (Open-Sided, Event-First)
• Geometry: Rigid frame + roof panel; side walls optional.
• Flow: People approach from any direction; ideal for demos, tasting bars, quick transactions.
• Sightlines: Peaks/valances act like billboards for branding.
• Limits: Without walls and weights, wind and spray can intrude.
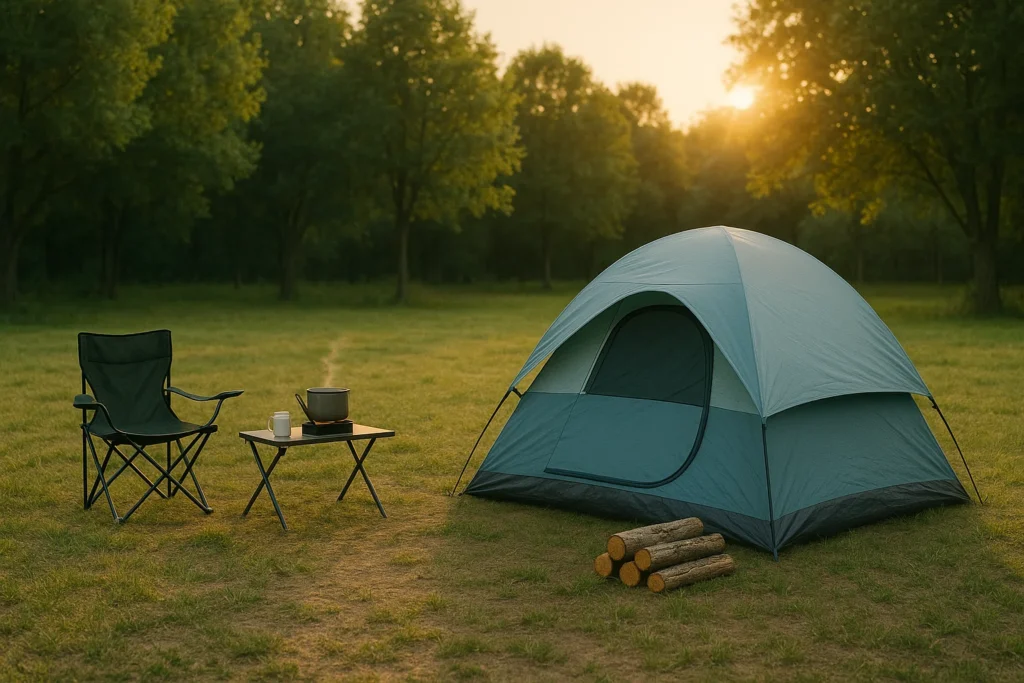
Traditional Tent (Enclosed, Camping-First)
• Geometry: Poles + rainfly + walls + (often) bathtub floor.
• Shelter: Keeps out wind, rain, bugs; quiet enough for families to sleep.
• Trade-off: More parts, more setup time, less “walk-up booth” energy.
Scenarios that Decide Your Purchase (Weddings, Markets, Sports, Relief)
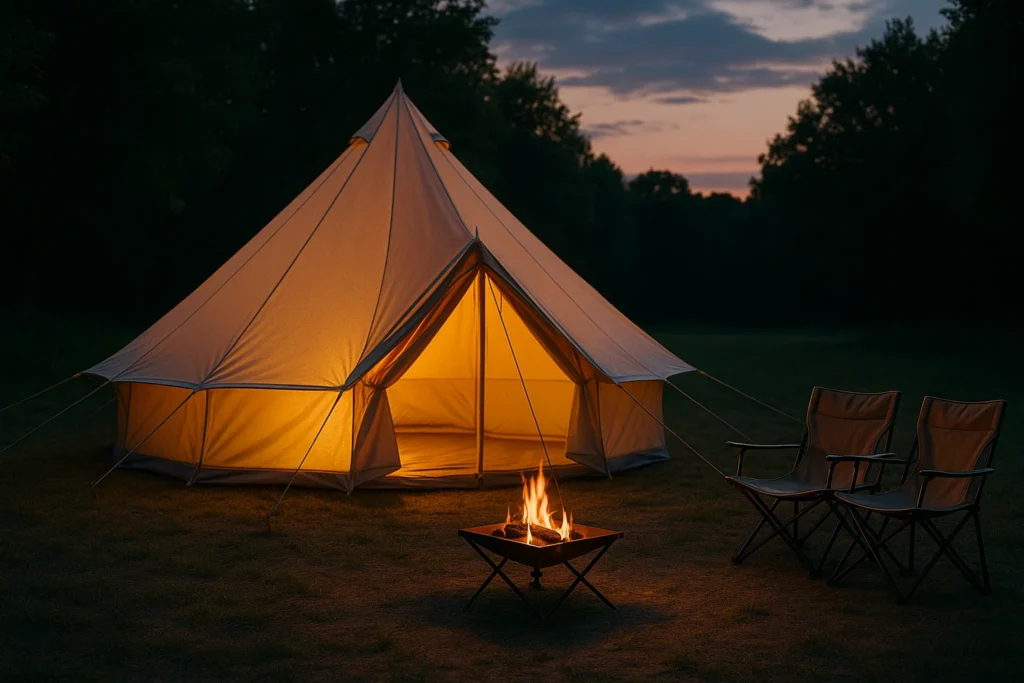
Weddings & Corporate Receptions
• Goal: Atmosphere + comfort + photography-friendly space.
• Best fit: A sun shade canopy with clear window walls and gutters between bays; add dimmable ambient lights and a clean backdrop for speeches.
• Pro tip: Reserve two solid walls as windbreaks on prevailing-wind sides.Farmer’s Markets & Trade Shows
• Goal: Foot-traffic capture + brand recall.
• Best fit: canopy with branded peaks/valances, two windowed walls (wind/light), and quick-swap signage.
• Pro tip: Place sampling/demo front-left; transaction counter front-right; storage in the rear.Sports Sideline & Community Events
• Goal: Shade, hydration, fast medical access.
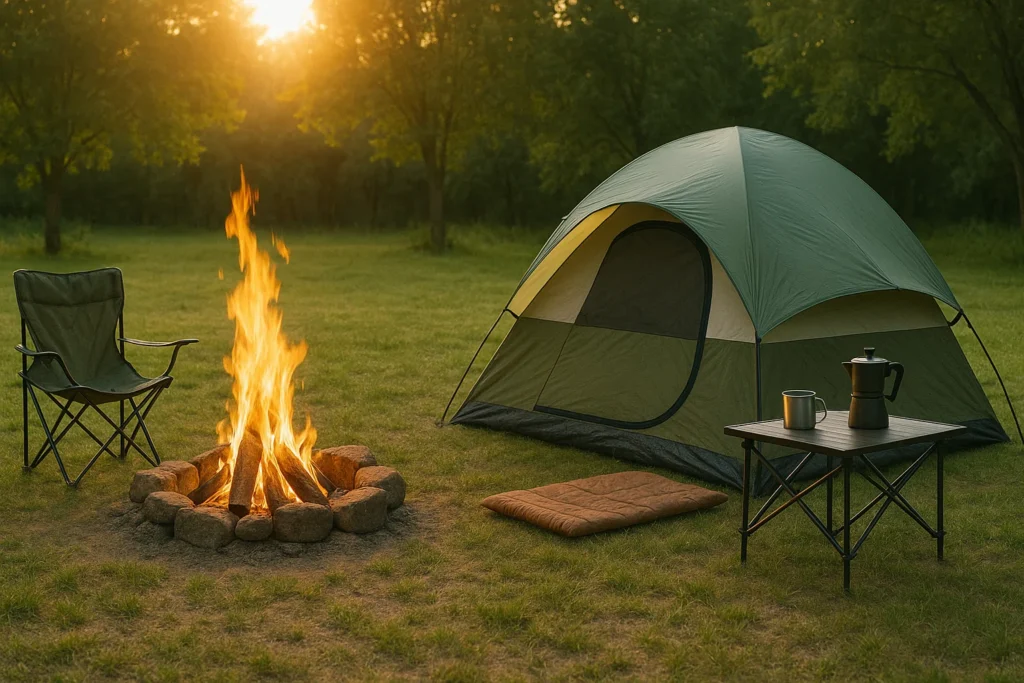
• Best fit: sun shade tent with high-contrast team IDs and removable side panels for cross-breeze.Backyard & Patio
• Goal: Weekend shade over tables or grills.
• Best fit: Compact outdoor canopy; add UV-rated tops and mosquito net walls for dusk.Emergency & Relief (Temporary Field Ops)
• Goal: Rapid setup, triage privacy, and weather resilience.
• Best fit: Mixed approach—sun shade canopy for intake & supplies; enclosed tents for treatment, rest, and secure storage. Fire-retardant fabrics are a must.
Weather, Stability & Safety (Engineering that Matters on Bad Days)
- Wind: Weight every leg (typical street fair baseline: 20–30 lb / 9–14 kg per leg) and add guy lines at corners. Aerodynamic domes in camping tents resist gusts better; canopies need ballast + walls.
- Rain: Vertical rain is easy; sideways rain requires side walls and gutters between adjacent bays. Tents pair waterproof fly + bathtub floors to stop splashback.
- UV & Heat: Choose UPF-rated fabrics; light exteriors reflect heat on summer asphalt.
- Fire Code: For public events, ask for CPAI-84 or local FR documentation.
- Site Plan: Keep egress lanes clear; tape any tripping hazards; secure flags and banners separately from the frame.
Customization & Branding (How to Be Seen Without Shouting)
- Print Methods: Screen print (solid logos), dye-sublimation (full-bleed photos), UV print (fast turnarounds).
- Placements: Peaks for distance-read; valances for aisle-level read; back wall for hero visuals; feather flags for vertical motion.
- Design Rules: High contrast, bold fonts, no hairline strokes, keep 10–15% safe margins near hems/seams.
- Accessories: Branded table throws, hanging signs, shelf risers; QR codes near transaction area.
- Layout Flow: Demo at front-left, sampling mid-front, POS right-front; storage and power routing in the rear to keep the face clean.
Materials & Engineering (What Lasts—and Why)
• Frames:
– Aluminum (lighter, corrosion-resistant), steel (stiffer, heavier, budget-friendly).
– Look for wider leg diameters and reinforced truss junctions; thumb-lock sliders are faster than pushpins.
• Fabrics:
– 300D/420D/600D polyester are common; PU or PVC coatings add waterproofing.
– UPF 50+ tops reduce heat; double-stitched, tape-sealed seams last longer.
• Hardware & Serviceability:
– Replaceable corner caps, truss bars, and sliders dramatically extend lifespan.
– Keep a labeled spare-parts kit in the roller bag.
Cost, Value & ROI (Numbers to Plan With)
• Event tent canopy price bands (typical):
– Economy: $120–$250 (light frames, basic tops).
– Mid: $300–$600 (stronger frames, UPF tops, basic branding).
– Pro/Custom: $700–$1,500+ (heavy-duty frames, full dye-sub, wall kits).
• Traditional tents range widely: $80–$300 (backpacking 1–3P), $250–$900 (family), $2,000+ (framed event tents).
• Lifetime: Economy frames 1–2 seasons with frequent use; pro frames 3–5+ seasons if maintained.
• ROI: Markets often hinge on visibility; one well-branded canopy that adds 10–20% foot-traffic can pay for itself in a single high-volume weekend.
Setup & Portability (Step-By-Step That Saves Time)
• sun shade canopy: Two people extend frame → clip top → raise legs in stages → weight each leg → add walls/guy lines. Roller bags fit hatchbacks; curb-to-shade in minutes.
• Traditional tent: Stake corners → pitch poles → attach fly → tension all guys 360° → ventilate to reduce condensation.
Pro Checklists (Save, Print, Tape to Your Roller Bag)
Buying Checklist
- Confirm size (10×10 ft booth standard).
- UPF 50+ top; taped seams; spare truss bar kit.
- Leg weights (≥ 20–30 lb/leg); guy lines & stakes.
- Two side walls (one windowed, one solid).
- High-contrast branding; readable at 10–20 m.
- Fire-retardant documentation for venue.
Event-Day Setup
- Square the footprint; face opening to traffic.
- Weights first, then walls; tension evenly.
- Cable-manage lights & POS; keep exits clear.
- Weather plan posted; staff briefed.
Storm Protocol
- Lower legs one notch; add extra ballast.
- Close windward wall; open leeward for venting.
- If gusts exceed rating, evacuate and lower frame.
Field Notes (3 Short Stories = 3 Lessons)
- The Flying Booth: One vendor skipped weights on a calm morning; a noon gust toppled their frame across two stalls. Lesson: ballast is not optional.
- The Wedding White-Out: Misty sideways rain ruined table settings—except under canopies with gutters and windward walls. Lesson: plan for rain angles.
- The Market Glow-Up: A dull booth switched to high-contrast peaks and bold valance type and saw 18% more card swipes. Lesson: legibility converts.
Care & Maintenance (Longevity Is a Habit)
- Dry everything before storage; mildew sets in fast in hot cars.
- Brush off grit; wash with mild soap; avoid harsh solvents.
- After windy events, tighten bolts, inspect sliders, replace bent stakes.
- Label legs, walls, and bags; keep checklists with the kit.
Decision Framework: Choose in 30 Seconds
- Need sleeping space or privacy? → Traditional tent.
- Need walk-up flow and brand visibility? → canopy tent.
- Windy site, multi-day storm risk? → Tent by default; or sun shade canopy + walls + serious ballast.
- Short crew, short time window? → Pop-up frame wins.
Key Takeaway (One Line You’ll Remember)
For flow and branding, an open canopy tent dominates; for sleeping and storms, a tent is home. Many teams bring both—and win their weekend.
Q&A (More Practical Answers)
Can a sun shade canopy handle an all-day thunderstorm?
With walls, gutters, and ≥20–30 lb/leg ballast, it’ll keep working—but for overnight wind + rain, a tent stays drier and quieter.
What size works for most markets?
10×10 ft is the standard footprint; add two side walls (one windowed) for flexibility.
How do I stop “wind lift”?
Weight every leg, tension walls, and add corner guys. Lower the legs one notch if gusts build.
Do I need fire-retardant certification?
Most public venues require it; ask for CPAI-84 or local FR documentation.
Can I combine both shelters effectively?
Yes—sun shade canopy for kitchen/demos, tent for sleeping/gear.
More questions? Full FAQ: https://moqicanopy.com/faq/