
Whether you’re heading to a trade show, an outdoor market, or planning a backyard party, knowing how to properly set up a canopy tent can save you time, stress, and embarrassment. A poorly set tent not only looks unprofessional but can also be a safety hazard in windy or uneven conditions.
In this guide, we’ll walk you through the process of setting up your canopy tent efficiently and safely — plus provide tips on avoiding common pitfalls and making your setup process smoother every time.
Step 1: Prepare Your Setup Area
Start by choosing a level, open area that is clear of debris and obstacles. This provides a solid foundation for your tent structure and helps ensure a symmetrical setup.
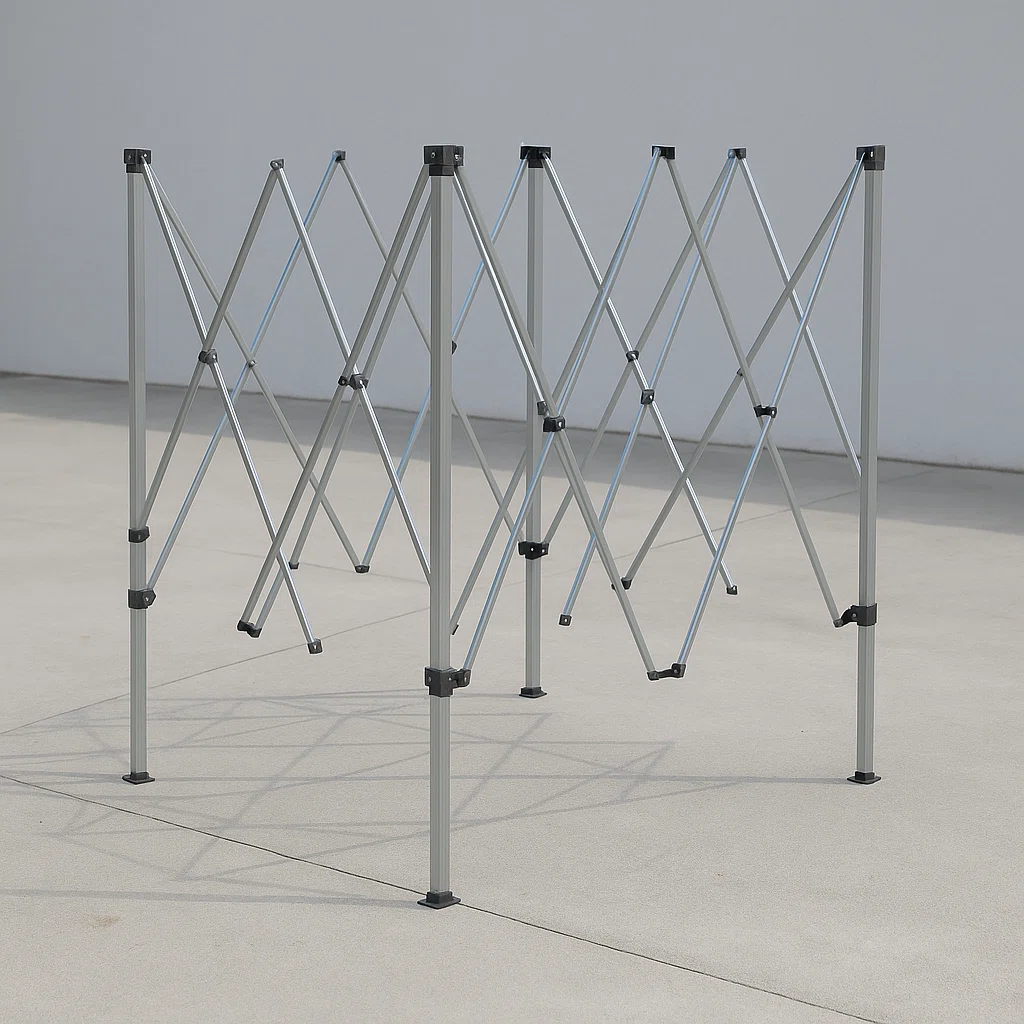
Step 2: Unpack and Partially Expand the Frame
Remove the folded tent frame from its carrying bag. With one person on each side, grasp the top crossbars and gently pull the frame outward in unison, expanding it halfway like an accordion. Don’t force it open — let it glide naturally.
Step 3: Position the Canopy Top
With the frame partially open, lift and drape the canopy top over the center hub. Align the corners of the fabric with the corresponding legs of the frame, and attach the Velcro strips tightly to prevent sagging later.

Step 4: Fully Expand and Lock the Frame
Now that the canopy is secured, each person should grab a corner of the frame and walk backward slowly to fully expand the tent. Once expanded, go to each leg and push up the slider mechanism until it clicks and locks into place.
Step 5: Raise the Telescoping Legs
With your foot on the base plate for stability, pull out the inner telescoping leg and lock it into the first height setting. Repeat this on all corners, gradually lifting the tent evenly. This ensures the tent remains balanced during elevation.
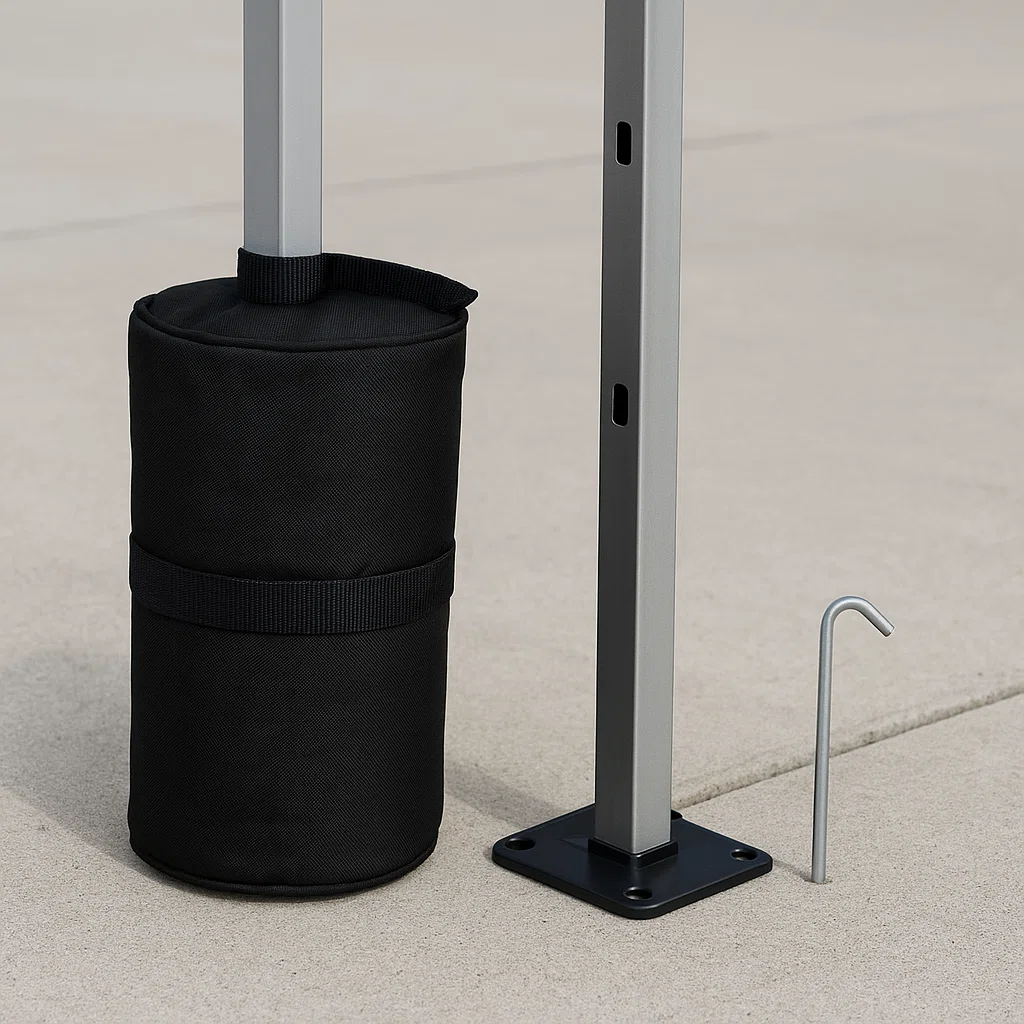
Step 6: Secure the Tent
Use ground stakes if you’re on grass or weight bags for pavement. Always secure your tent — even in calm weather. Sudden gusts can turn your canopy into a sail.
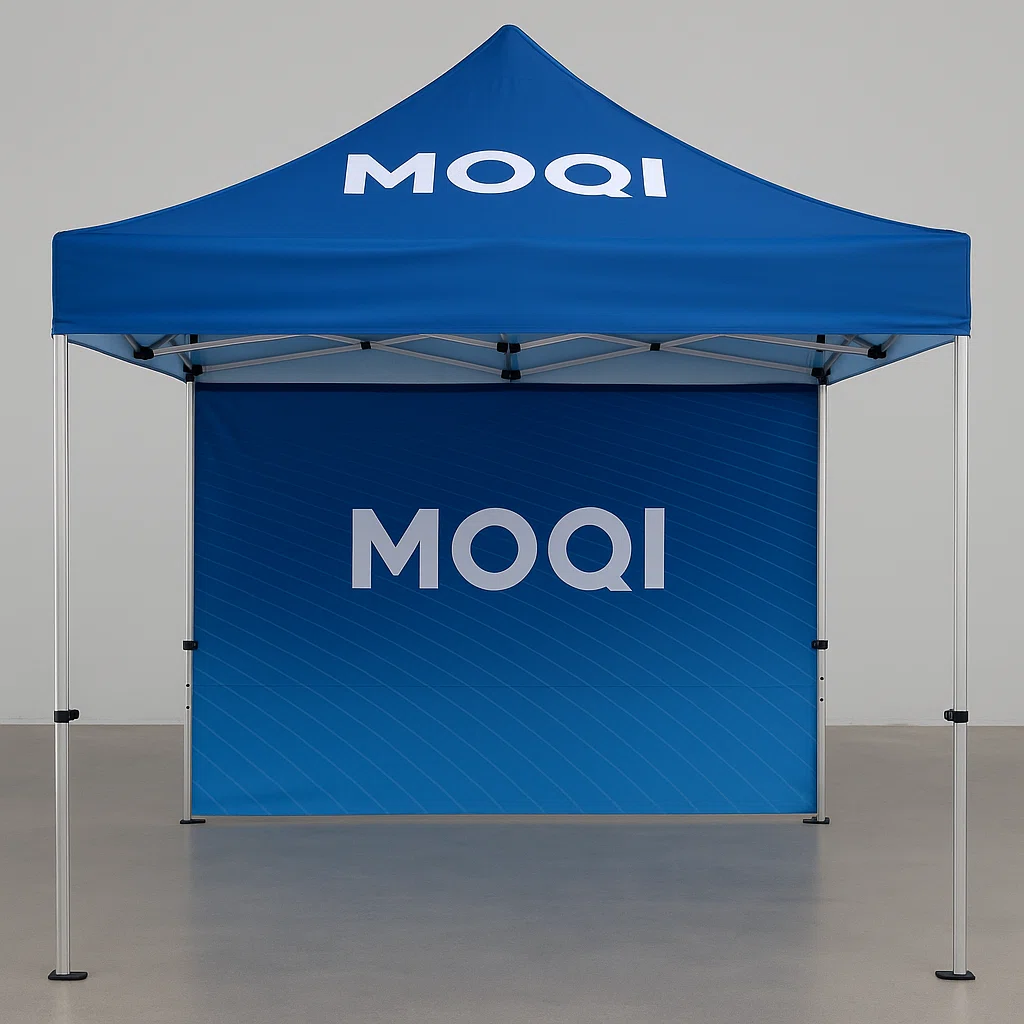
Step 7: Add Walls, Banners, or Accessories
Most trade or event tents come with optional accessories like sidewalls, awnings, or branded banners. These should be attached using clips or Velcro once the structure is fully erected and stable.
Pro Tips for a Smooth Setup
- Never set up your tent solo unless it’s under 5×5 ft.
- Check wind conditions. Avoid use in heavy wind or rain.
- Let the fabric dry completely before storing to prevent mold.
- Don’t forget to double-check the locking sliders — they’re crucial for safety.
Why Choose a Quality sun shade canopy
A high-quality sun shade canopy not only simplifies your setup process but also extends the life of your equipment. Models with reinforced joints, auto-sliders, and durable materials reduce wear and tear, ensuring that your tent remains reliable even with frequent use.
Common Mistakes to Avoid
- Forcing the frame open — this can bend joints.
- Skipping the step of securing the canopy to the corners.
- Setting up on sloped or uneven surfaces without adjusting leg height.
- Failing to anchor the tent, risking damage or injury during wind gusts.
Maintaining Your sun shade canopy
After each use, clean your tent using mild soap and water. Avoid harsh chemicals or machine washing. Always allow the tent to fully dry before packing to prevent odor and mildew.
Q&A: Frequently Asked Questions
How long does it take to set up a canopy tent?
With two people, setup usually takes 5–10 minutes for most sizes.
Can I set it up alone?
For small sizes (5×5 ft), yes. For anything larger, always have help.
Can I use my canopy tent on concrete?
Absolutely, just make sure to use weight bags instead of stakes.
Is it waterproof?
Most quality sun shade canopy models are water-resistant but not fully waterproof. Always check product specifications.
See more questions in our full FAQ page → https://moqicanopy.com/faq/